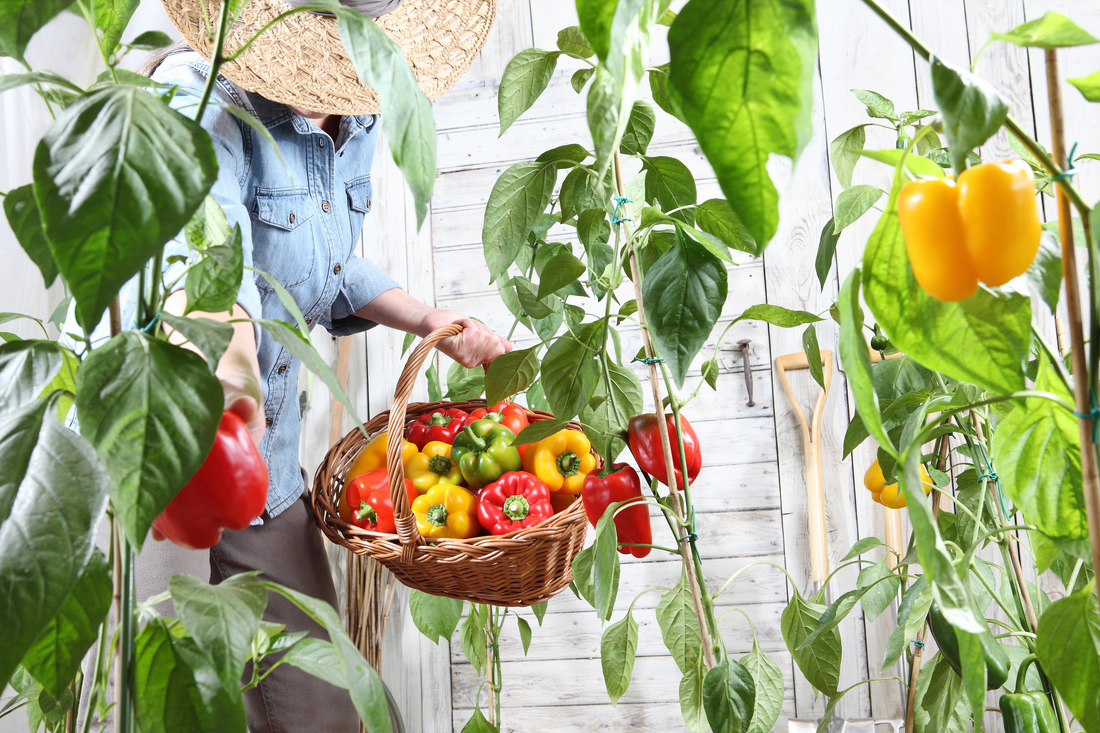
From Garden to Jar: Growing Your Own Peppers for Homemade Pepper Jelly
Share
Introduction
Growing your own peppers can be a rewarding and cost-effective way to enjoy homemade pepper jelly. Fresh, homegrown peppers add a unique depth of flavor to your jelly that store-bought peppers can't match. In this comprehensive guide, we'll explore how to grow your own peppers for homemade pepper jelly, from selecting the right varieties to harvesting and preparing them for your culinary creations.

I. Choosing the Right Pepper Varieties for Your Pepper Jelly
A. Heat levels
When choosing pepper varieties for your pepper jelly, consider the heat level you prefer. From mild bell peppers to scorching Carolina Reapers, the range of pepper heat levels is vast. Be sure to select varieties that align with your desired spiciness.

B. Flavor profiles
Peppers offer a wide variety of flavor profiles, from sweet and fruity to smoky and earthy. Experiment with different varieties to find the flavors that best suit your taste preferences and complement the other ingredients in your pepper jelly recipe.

C. Recommended varieties
Some popular pepper varieties for homemade pepper jelly include Jalapeños, Serranos, Thai bird's eye chilis, and Habaneros. These peppers provide a good balance of heat and flavor, making them excellent choices for a variety of jelly recipes.

Southwestern Chipotle Pepper Jelly (Grandma Jones' Originals)
II. Growing and Caring for Your Pepper Plants
A. Starting from seeds
- Start seeds indoors about 8-10 weeks before your region's last expected frost date.
- Sow seeds in seed-starting trays or small pots filled with seed-starting mix.
- Keep the soil moist and warm (between 70-85°F) until the seeds germinate.
B. Transplanting seedlings
- Harden off your seedlings by gradually exposing them to outdoor conditions over 7-10 days.
- Transplant seedlings to the garden or containers once nighttime temperatures are consistently above 55°F.
- Space plants about 18-24 inches apart, depending on the variety.
C. Ongoing care
- Provide peppers with full sun and well-draining soil.
- Water regularly, ensuring that the soil remains consistently moist but not waterlogged.
- Apply a balanced fertilizer, following package instructions for application rates and frequency.

III. Harvesting and Preparing Your Peppers for Jelly
A. When to harvest
- Harvest peppers when they have reached their mature size and color.
- The ideal harvest time will vary depending on the pepper variety and desired heat level – some peppers become milder as they ripen, while others grow hotter.

Example of freshly harvested peppers
B. Handling precautions
- When handling hot peppers, wear gloves and avoid touching your eyes or face.
- Wash your hands thoroughly after handling peppers to prevent accidental exposure to capsaicin, the compound responsible for the heat in peppers.
C. Preparing peppers for jelly
- Wash your peppers thoroughly and remove any dirt or debris.
- Remove the stems and seeds, then finely chop or puree the peppers, depending on your desired jelly texture.
- Follow your pepper jelly recipe for specific preparation instructions, as cooking times and techniques may vary depending on the type of peppers and other ingredients used.

Preparing peppers for Pepper Jelly
(HINT: Consider a professional food processor to finely cut your peppers!)
IV. Preserving and Enjoying Your Homemade Pepper Jelly
A. Canning your pepper jelly
- Sterilize jars, lids, and bands by boiling them in water for 10 minutes.
- Fill the hot jars with your homemade pepper jelly, leaving 1/4-inch headspace.
- Wipe the jar rims clean, then place lids and bands on jars, tightening them securely but not overly tight.
- Process the jars in a boiling water bath for the time specified in your recipe, usually 10-15 minutes.

Example of the Pepper Jelly canning process
B. Storing your homemade pepper jelly
- Once the jars have cooled, check that the lids have sealed properly by pressing down on the center – it should not flex up and down.
- Store sealed jars in a cool, dark place for up to a year.
- Unsealed jars or opened jars should be refrigerated and consumed within a few weeks.

Pepper Jelly stored in a box
C. Serving suggestions
- Serve your homemade pepper jelly with crackers and cheese for a simple appetizer.
- Use it as a glaze for grilled meats or vegetables.
- Incorporate your pepper jelly into sauces, dips, or salad dressings for an added kick of flavor.


Conclusion
Growing your own peppers for homemade pepper jelly is a rewarding endeavor that allows you to explore unique flavor combinations and heat levels. By choosing the right pepper varieties, caring for your plants, and following proper harvesting and preparation techniques, you can create delicious and personalized pepper jellies straight from your garden. Happy growing and enjoy your homemade pepper jelly creations!
