The Craft of Canning: How to Preserve Your Homemade Pepper Jelly
Introduction
Homemade pepper jelly is a delicious and versatile condiment that can be enjoyed year-round. To ensure you can savor the sweet and spicy flavors of your homemade creation even during the off-season, canning is an excellent preservation method. In this comprehensive guide, we'll walk you through the process of canning your homemade pepper jelly, providing tips and techniques to ensure your preserves stay fresh and flavorful.

I. Preparing Your Workspace and Materials
A. Gather your canning supplies
To get started with canning your pepper jelly, you'll need the following supplies:
- Glass canning jars with lids and bands
- Large stockpot or canning pot with a rack
- Jar lifter or tongs
- Canning funnel
- Ladle
- Clean, damp cloth
- Timer

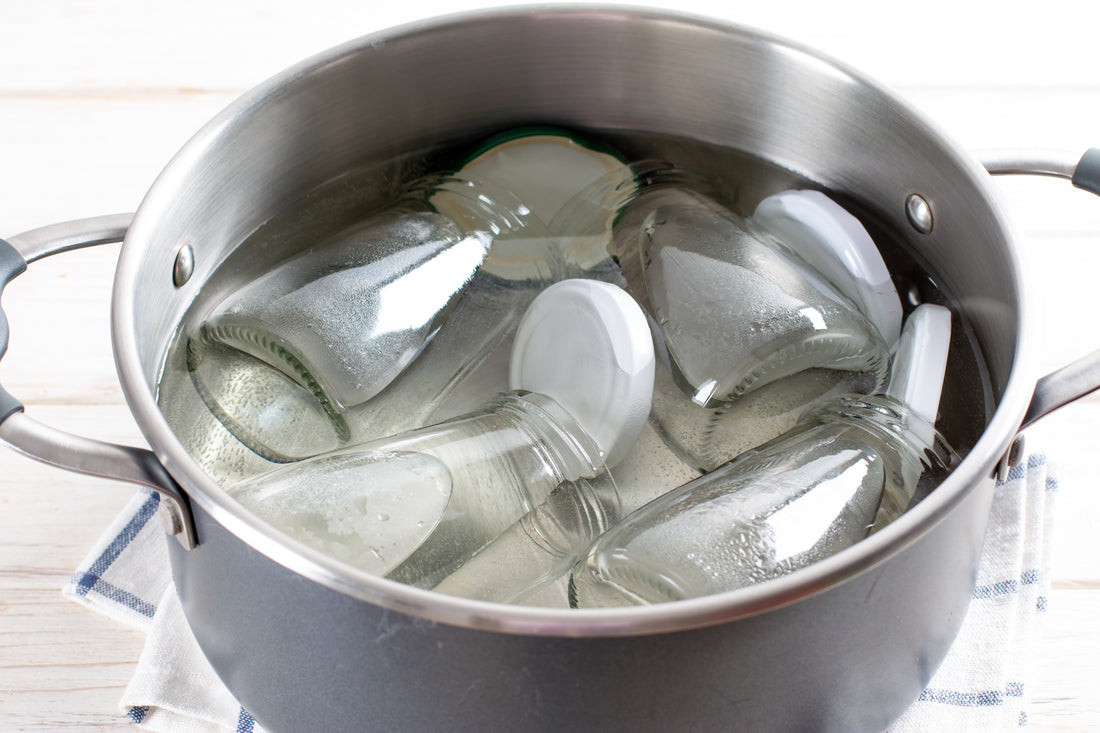
B. Sterilize your jars and lids
Before canning, it's essential to sterilize your jars and lids to prevent the growth of bacteria. To do this, submerge the jars and lids in boiling water for at least 10 minutes. Use a jar lifter or tongs to remove them from the water and set them aside to dry on a clean towel.

II. Making Your Pepper Jelly
A. Prepare your pepper jelly recipe
Follow your favorite pepper jelly recipe to prepare your mixture. Ensure you have the right balance of peppers, sugar, vinegar, and pectin for the desired flavor and consistency.

B. Cook and thicken your pepper jelly
Bring your pepper jelly mixture to a rolling boil, stirring frequently to prevent scorching. Cook until the jelly reaches the desired thickness. Perform a gel test by spooning a small amount of jelly onto a chilled plate; it should set and wrinkle when pushed with your finger.

III. Filling Your Jars
A. Ladle the pepper jelly into jars
Using a canning funnel, carefully ladle the hot pepper jelly into your sterilized jars, leaving 1/4 inch of headspace at the top. This headspace allows for expansion during the canning process.

B. Remove air bubbles and clean the rims
Use a non-metallic spatula or chopstick to remove any air bubbles trapped in the jars. Wipe the rims of the jars with a clean, damp cloth to ensure a proper seal.

IV. Processing Your Jars
A. Place the jars in the canning pot
Using a jar lifter or tongs, carefully lower the filled jars into your canning pot, making sure they are not touching each other or the sides of the pot. The jars should be covered with at least 1-2 inches of water.

B. Process the jars
Bring the water to a rolling boil, cover the pot, and process the jars for the recommended time based on your recipe and altitude. Generally, processing times for pepper jelly range from 5-10 minutes.
C. Cool and check the seals
After processing, use a jar lifter or tongs to carefully remove the jars from the pot and set them on a towel or cooling rack. Allow the jars to cool for 12-24 hours. Check the seals by pressing on the
center of each lid. If the lid does not flex or pop, the jar is sealed properly. If the lid flexes or makes a popping sound, refrigerate the jar and consume the jelly within a few weeks.

D. Label and store your pepper jelly
Label your jars with the contents and date of canning. Store your sealed pepper jelly in a cool, dark place, such as a pantry or cupboard, away from direct sunlight. Properly canned pepper jelly can last up to a year or more.

V. Tips for Success
A. Test your pectin
If you're using powdered pectin, make sure it's fresh and has not expired. Pectin loses its gelling power over time, which can result in a runny jelly.
B. Use a candy thermometer
To ensure your pepper jelly reaches the correct temperature for proper gelling, use a candy thermometer. This can help you avoid overcooking or undercooking your jelly.

C. Follow proper canning techniques
To ensure your canned pepper jelly remains safe and delicious, always follow proper canning techniques and guidelines, such as sterilizing jars and lids, maintaining the appropriate headspace, and processing the jars for the correct amount of time.
Conclusion
Canning your homemade pepper jelly allows you to enjoy its sweet and spicy flavors throughout the year, even when fresh peppers are not in season. By following this comprehensive guide and adhering to proper canning techniques, you can preserve your pepper jelly for future enjoyment. Happy canning!
